All Grain Brewing Tutorial
Gluten Free Home Brewing offers the largest variety of malted grains. Shop Our Store to buy malt for your recipe or buy a Recipe Kit.
Gluten Free Brewing
by Andrew Lavery
So by now you should have a good idea about how to make your own malt, but this is not our final destination, we need to turn this malt into beer.
Most parts of the gluten free brewing process are similar to normal brewing, which is covered in detail by the experts on this site and others, so I'll only touch on the key differences;
- The crush
- The mash regime
- Lautering
The other key area I'd like to talk about is recipe formulation and beer styles, what I have found that works and what doesn't.
Beer Styles
One thing we need to remember when making gluten free beer is that it will be difficult to make a "to style" copy of most traditional beers due to the distinctly different flavours and aromas from the gluten free malts. The exception seems to be the wheat style beers of Germany and Belgium, somewhat ironic given that wheat is the most gluten toxic grain.
I have had very good results in competitions, including a couple of podium finishes, brewing to the following beer styles - wit, weizen, dunkelweizen and roggenbier. The reasons I believe are that the gluten free grains are a bit more wheat like in taste (judges seem to be able to taste wheat or rye in there), they generally give a slight tartness or sourness to the beer, and these beer styles have significant flavour contributions from the yeast and spices.
The most difficult styles to emulate are the more delicate and clean beers like pale lagers and pale ales, here the slight sourness and apple / raisin fruitiness are most unwelcome and in competition judging will usually see the beer marked as infected or having serious fermentation issues. This is more of an issue if sorghum malt is used as the base, less so for millet malt. So you can make these styles but they will be significantly different to the normal versions, but when you don't have a choice you get used to it.
Given all this I think the best approach if you're just starting out with gluten free brewing is to start with a pale ale, but use an English, German or Belgian ale yeast with a bit of character and a generous amount of noble hops. The reason being that you can use mostly, if not all, pale malt with a bit of roasted malt or grain for colour, or other adjunct for flavour. It will also be an easier and quicker process to ferment the beer.
Then you can tweak and play with the recipe until it comes out just how you want it, because in the end you want to make a beer you enjoy drinking, not just a certain traditional style.
Recipe Formulation
When I start dreaming up a new recipe the first thing I do is run through the general characteristics I'm looking for; colour, bitterness, alcohol strength, body, hop flavour and aroma, malt flavour and aroma, yeast flavour and aroma, and any additional spices.
With these characteristics in mind we can then run through the available ingredients and select the ones we need to bring our creation to life.
Let's start with the grain bill; it's the reason gluten free beer exists. A brief run down on the brewing characteristics of each of the gluten free grains is as follows:
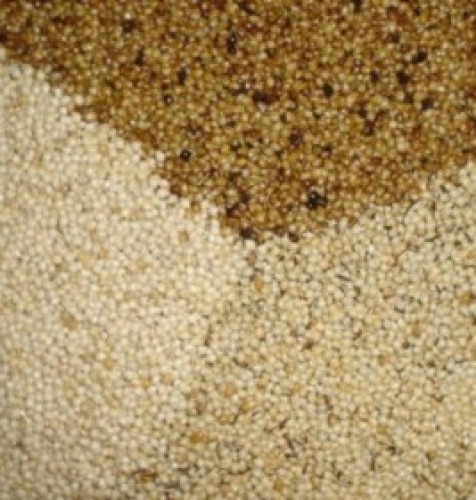
| Millet |
Pale malt has a distinctive, slightly malty flavour and aroma Excellent enzymatic strength, can convert 40% adjunct Darker malts have rich malty flavours Crystal has malty, caramel flavour and adds considerable body Slight sourness occasionally evident |
| Sorghum |
Pale malt has a distinctive fruity aroma and flavour Good enzymatic strength, can convert 20% adjunct Can lack body and taste a bit thin or watery if protein rest not right Finished beer is almost always crystal clear Slight sourness almost always evident |
| Buckwheat |
Pale malt has strong distinctive flavour, tart and wheat like Good enzymatic strength <p">Roasted buckwheat malt adds a nutty character High protein content, good for head retentionAbsorbs a lot of water so extra mash and sparge water required Difficult to separate enzyme liquid from mash |
| Maize |
Pale malt is, you guessed it, corn like - not overly strong though Good enzymatic strength Also has a slight spicy, peppery flavour but quite neutral and light Low protein content but still has good head properties
More work required to see if it is suitable for a base grain |
| Rice |
Malted brown rice does not malt or brew well at all, very off smell Only use rice flakes or white rice as an adjunct if desired to lighten the flavour Low protein content |
First it's a matter of picking the base malt, which for me is almost always millet due to its higher enzymatic strength, more traditional flavour and aroma, and reduced sourness. Then we can add roasted malts, crystal malt, raw adjuncts such as puffed amaranth or quinoa to fill out the recipe.
If your level of roasted malts and adjuncts is around the 30-40% range then you will need to conduct your conversion rest when you mash at around 60-62C to ensure the beta amylase lasts long enough to create wort with an apparent attenuation of around 75%. If the grain bill is greater than 95% pale malt then the conversion rest can be done at 65-68C to achieve the same attenuation.
Next on our shopping list is yeast, it is another ingredient that we have to be careful of as most yeast is cultured in a barley wort medium. We need to use yeast that has been cultured in a gluten free medium, usually molasses, which takes us to dry yeast. However, make sure you check with the manufacturer that their brand of dried yeast is gluten free. One that is gluten free is the Fermentis range.
A brief run down on their range available in Australia is as follows;
- Safale S-04 English ale yeast, fruity, fast, and good flocculation
- Safale US-56 American ale yeast, very clean
- Safale K-97 German wheat ale yeast, clove and banana
- Safbrew T-58 Belgian ale yeast, spicy and high alcohol tolerant
- Saflager S-23 European lager yeast, slight fruitiness
- Saflager W-34/70 German lager yeast, very clean
So, not the wide range available in liquid yeasts, but a good range none the less. The K-97 in particular seems to work well with gluten free grains. Beware the US-56, it is so clean it will expose any unusual flavours. For more information visit the Fermentis web site.
As far as hops and water go its open slather. Try hop varieties until you find one you like - tettnang, hersbrucker, and goldings are my favourites - and then try some more. As far as water goes check out other articles on this web site that deal with the mysteries of water chemistry, the key mineral we need here is calcium to help protect the enzymes and I aim for 100 ppm. The only extra addition I would suggest you add is a pinch of sodium metabisulphite (or 1/8 tsp according to Graham Sanders) to help mop up potential oxidation problems in the mash, the full decoction mash required for gluten free brewing is full of oxidation opportunities.
If you are looking for inspiration I have loaded a number of my recipes onto the website for people to use as a starting point.
So now let's run through an example. This recipe is one of my favourite ales that I brew on a regular basis, somewhere between an Australian pale ale and an English pale ale in style.
It is an easy drinking flavoursome ale that goes down well. It has a simple grain bill with pale millet malt for the base and 5% each of crystal millet malt and Munich millet malt for flavour and colour.
The yeast selected is an English ale yeast, bittered and flavoured with goldings and northdown. This is my first brew with northdown as I had previously used POR for bittering and goldings for flavour.
Recipe is as follows:
| Grain Bill | 2.7 kg Pale millet malt 150g Crystal millet malt 150g Munich millet malt Crushed (ground) to a flour |
| Hops | 12 g Northdown 60 min 12 g Goldings 60 min 12 g Northdown 10 min 12 g Goldings 10 min |
| Yeast | Fermentis S-04 |
| Water | 30 lt Pre-treated the day before 3 tsp of gypsum (CaSO4) for calcium 1/8 tsp sodium metabisulphite for chloramine removal |
| Batch Size | 17.0 litre |
| Colour | 6 SRM |
| Bitterness | 31 IBU |
| Efficiency | 95% |
| Original Gravity | 1.042 |
| Final Gravity | 1.008 |
| ABV | 4.4% |
Crushing Grains
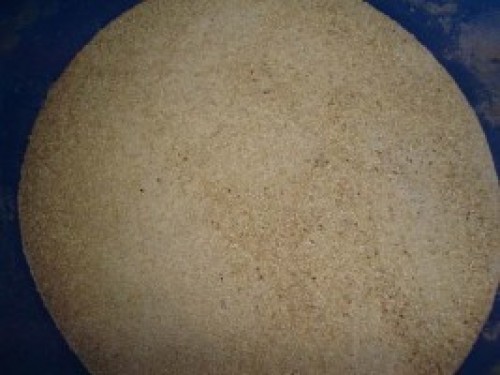
In brewing with barley malt the usual advice is to just crush it enough to crack open the grain, exposing the starch and leaving the husk intact to form the filter bed in lautering. With gluten free brewing the advice is a bit different as the grains do not have a husk, although some do have a thin hull.
If you have access to rice hulls to use in the mash then it is best to crush the grain into flour, as fine as you can. This will give maximum starch conversion and leave only a small portion of the original grain mass in the spent grains. Efficiency up to 95% can be achieved this way.
If you don't have rice hulls then it is better to crush coarser and accept a lower efficiency of starch conversion, the large malt chunks left over will form a filter bed and allow the mash to be lautered. This works well for millet, sorghum and maize but efficiency will be closer to 75%.
Either way, it is best to keep the grain bed to 10-20 cm deep to reduce compaction.
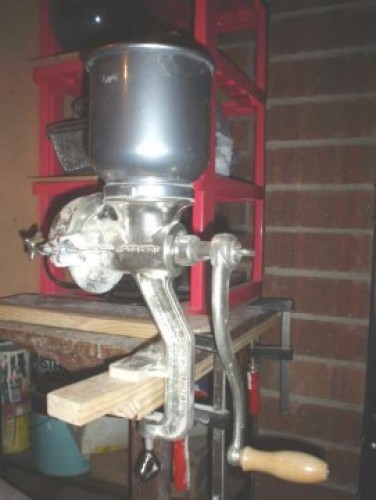
While roller mills will work with gluten free grains the best type of crusher is actually a grinder, the corona type mills are well suited to making malt flour.
Using a corona mill with sorghum and maize it is best to run it though for a coarse crush first and then close it up until the two plates are touching to bring it down to flour. Millet can be done on the closed up setting in one pass.
The Mash Regime
In its most simple form in "normal" brewing, the mash is a matter of mixing the crushed malt with hot water to achieve a temperature of 65-68C, holding this for 60-90 minutes and then lautering and sparging.
A gluten free mash regime is more complicated and combined attributes from a step infusion mash and a decoction mash. To best explain the mash regime for gluten free brewing let's run through our example brew day.
-
Adjust water pH to 6.0 with citric acid.
-
Heat 7.0 lt water to 43C and mix in crushed malt.
-
Add 1/8 tsp of sodium metabisulphite for oxidation control.
-
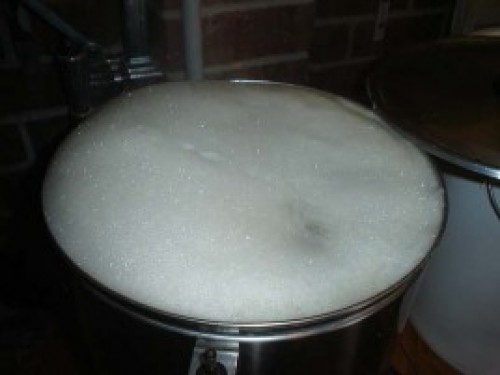
Beta-glucan rest at 40C for 25 minutes, stir every 10 min.
-
Mash pH settles out to 5.4 - OK.
-
Infuse mash with 3.0 lt of boiling water.
-
Protein rest at 55C for 25 minutes, allow it to settle for last 15 min.
-
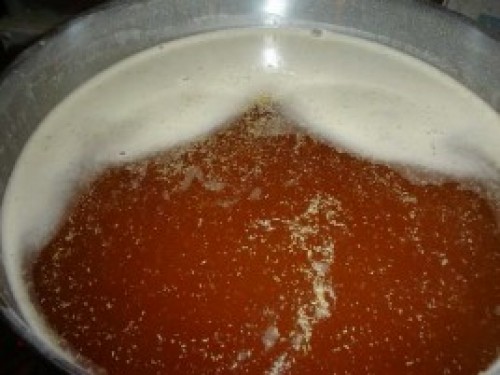
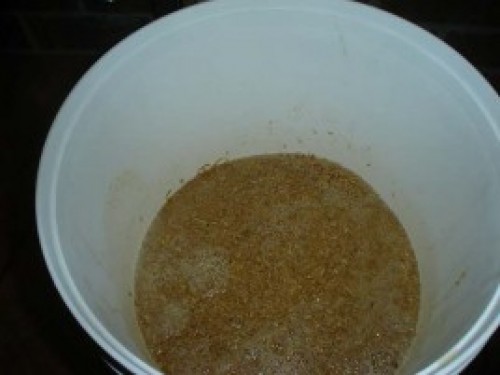
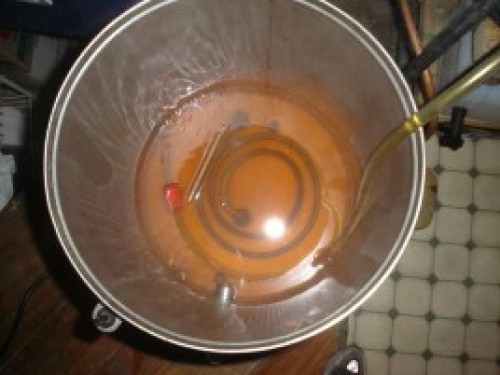
Decant off 3.0 lt of clear liquid from the top of the mash.
-
Place the decanted liquid in the fridge.
-
Infuse mash with 2.0 lt of boiling water.
-
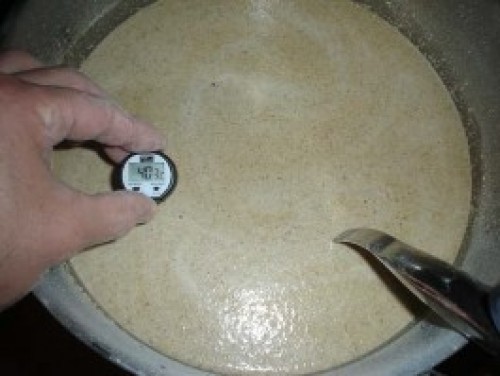
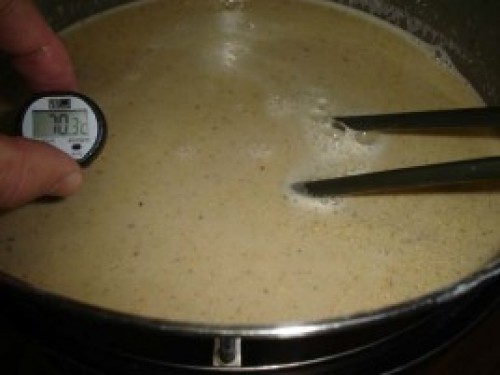
Heat mash to 70C and hold for 20 minutes for partial conversion.
-
Bring to boil and hold for 5 minutes.
-
Cool mash to 70C.
-
Add decanted liquid to mash to achieve mash temp of 65C.
-
Hold 65C for 90 minutes.
Some explanation of the process is required. Gluten free malts are not fully modified so the mashing regime needs to include a beta-glucan rest at 40C and a protein rest at 55C to help release starch by breaking down the grain structure, reduce gumminess in the mash, provide adequate yeast nutrition, and good head retention properties.
After the 55C rest the solids in the mash have settled to the bottom and there is a clear liquid on the top, this liquid contains the enzymes required to convert the starches to sugar. These enzymes have an operating temperature range of 60- 70C and are destroyed at temperatures above 70-75C. However, the starches in gluten free malt do not fully gelatinise and become available to be converted to sugar until heated to temperatures of 75-85C. Herein lies the problem.
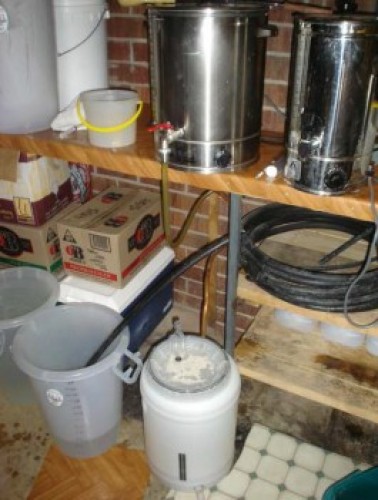
This is why we remove the enzyme liquid from the mash and keep it at <60C to preserve the enzymes, meanwhile we add some extra water to the mash and raise it to 70C to convert whatever starch is available and reduce the viscosity prior to boiling. The boiling (or raising to 85C for 30 min) will gelatinise the rest of the starch. An immersion element is very useful for doing the temperature rises.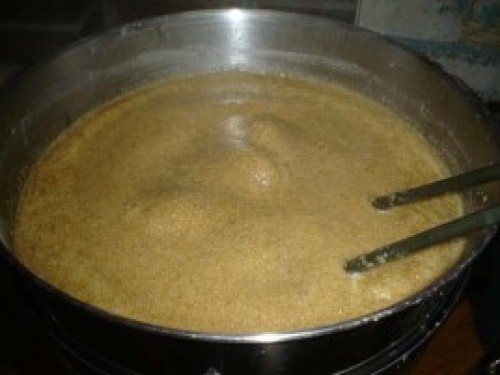
After the mash has cooled we then add the enzyme liquid back to the mash and the alpha and beta amylase can go to work on the gelatinised starch. In this example I have rested at 65C for 90 minutes as I have a high proportion (90%) of pale malt and that should do the job nicely at that temperature.
In comparison, if you were doing a single step infusion mash with barley malt steps 2 to 15 would be replaced with "heat mash water to 75C, add crushed malt and hold temp for 90 minutes".
So that's the complicated part over with, probably 2-3 hours longer than a barley infusion mash. Not for those with a short attention span.
Lautering
There are two main differences with lautering; rice hulls and grain bed depth.
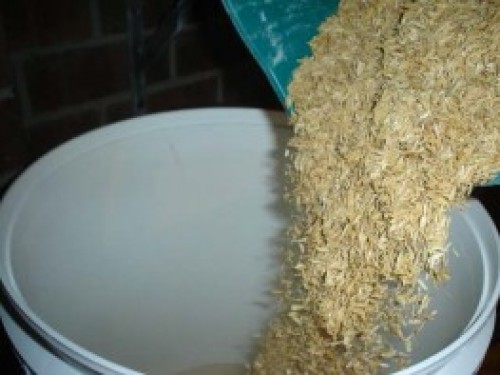
As I mentioned earlier the gluten free grains do not have a husk so we need to add rice hulls to aid filtration. The amount I have used is generally 10-20% of the grain bill, so in our example here with 3.0 kg of grain we need 0.3-0.6 kg of rice hulls. For a shallow grain bed depth I choose the low end of the range.
While rice hulls will help lautering there is a limit, if the grain bed (not the full mash including liquid) gets over about 20 cm deep then the sparge can get stuck just due to static head. The grain bed with 3.0 kg of grain in my 30 cm diameter lauter tun is a bit over 10 cm deep, 4.0 kg of grain still works OK but
So our example brew moves along as follows:
-
Place 0.3 kg of rice hulls in lauter tun.
-
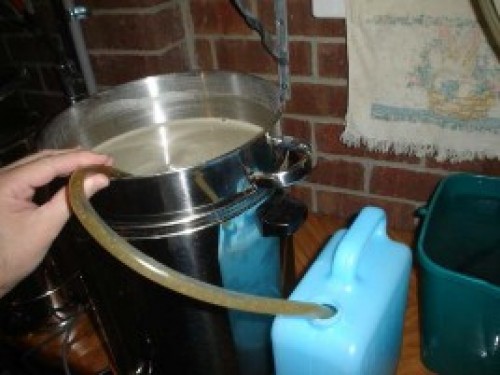
Heat mash to 75C and transfer to lauter tun, mixing in rice hulls.
-
Adjust sparge water (12 lt) pH to 5.7 with citric acid.
-
Recycle runnings from lauter until clear.
-
Check gravity of first runnings, 1.059, based on experience this will give 17 lt at 1.042 - spot on.
-
Lauter and sparge to collect around 18 lt of wort.
The Rest of the Process
From here on in it's all the same as for "normal" brewing, I'll just run you through the final steps so you can see the whole brew day.
-
Bring to boil and boil for a total of 90 minutes.
-
Add 12 g of Northdown and 12 g of Goldings with 60 min to go.
-
Add 0.5 crushed tablet of Irish Moss at 20 min to go.
-
Add 12 g of Northdown and 12 g of Goldings with 10 min to go.
-
Top up kettle with boiling water to achieve 17 litres in the fermenter.
-
Whirlpool for 5 minutes to draw hops and trub to centre of boiler.
-
Allow to settle for 20 minutes.
-
Run through Counter-Flow Chiller to reduce temperature to 20-25 C in around 5 minutes, collect in a sanitised fermenter.
-
Aerate, place in fermentation fridge, and pitch yeast.

So, that's the brew day over with. On a good day a gluten free brew will take around 8 hours from start to finish, 7 am to 3 pm. Bad days can go about twice as long.
Just for completeness here are the fermentation details.
-
Ferment at 18-20C for a 5 days.
-
Transfer to secondary at 18C for 2 days.
-
Bottle and let it carbonate for a few weeks.
-
Enjoy
Final Word
So there you have it, all sounds so simple. And that's the key, start with a simple recipe and once you're used to the process start playing around with more ingredients to make the beer you want to drink.
Some final tips to help your brew day:
- Be prepared the night before and ready for an early start.
- Plan to spend the whole day brewing, you may need it.
- Make small batches to start with, it's easier and there's less to drink if it's not a quality beverage.
- Be creative, and have fun! Cheers,
Andrew Lavery, Eureka Brewing
© Eureka Brewing 2006.
Also read our August 2018 blog 'Catching up with Andrew Lavery'